E-POSTER
GUIDELINES

Instructions for e-Poster submission
HOW DO I PREPARE MY E-POSTER
You must first prepare a poster prior to uploading your e-poster
Step 1:
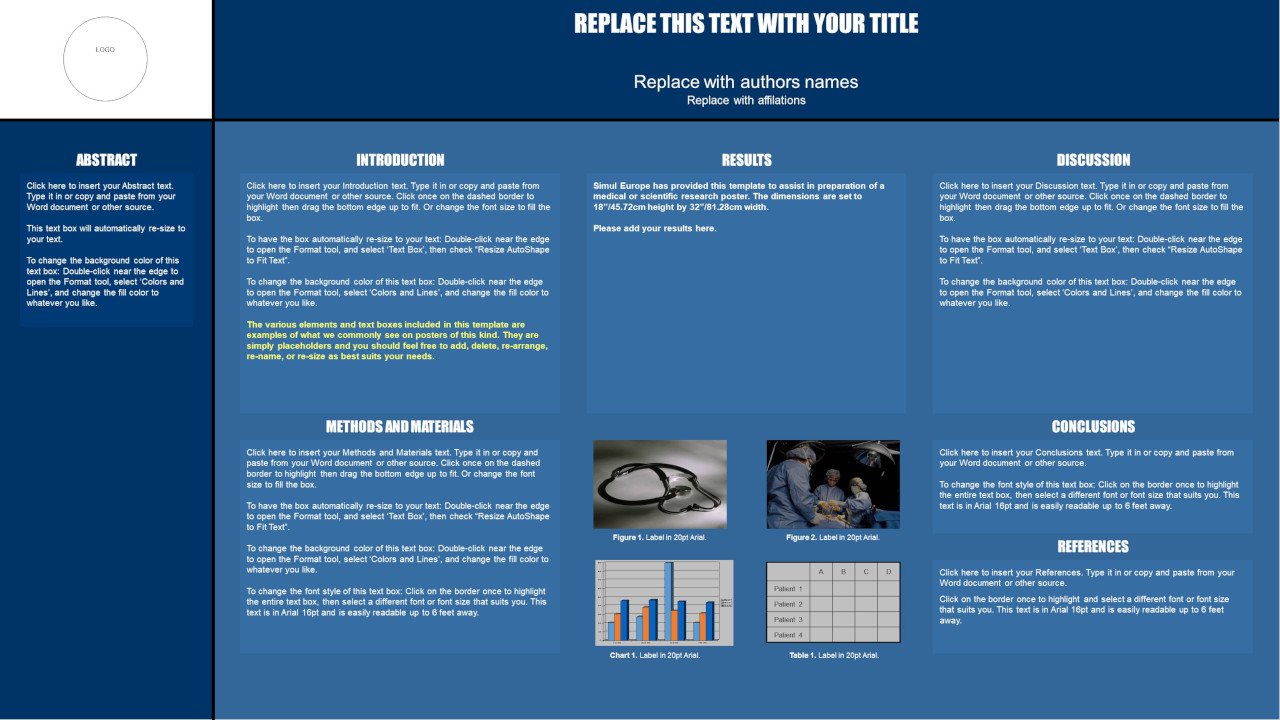
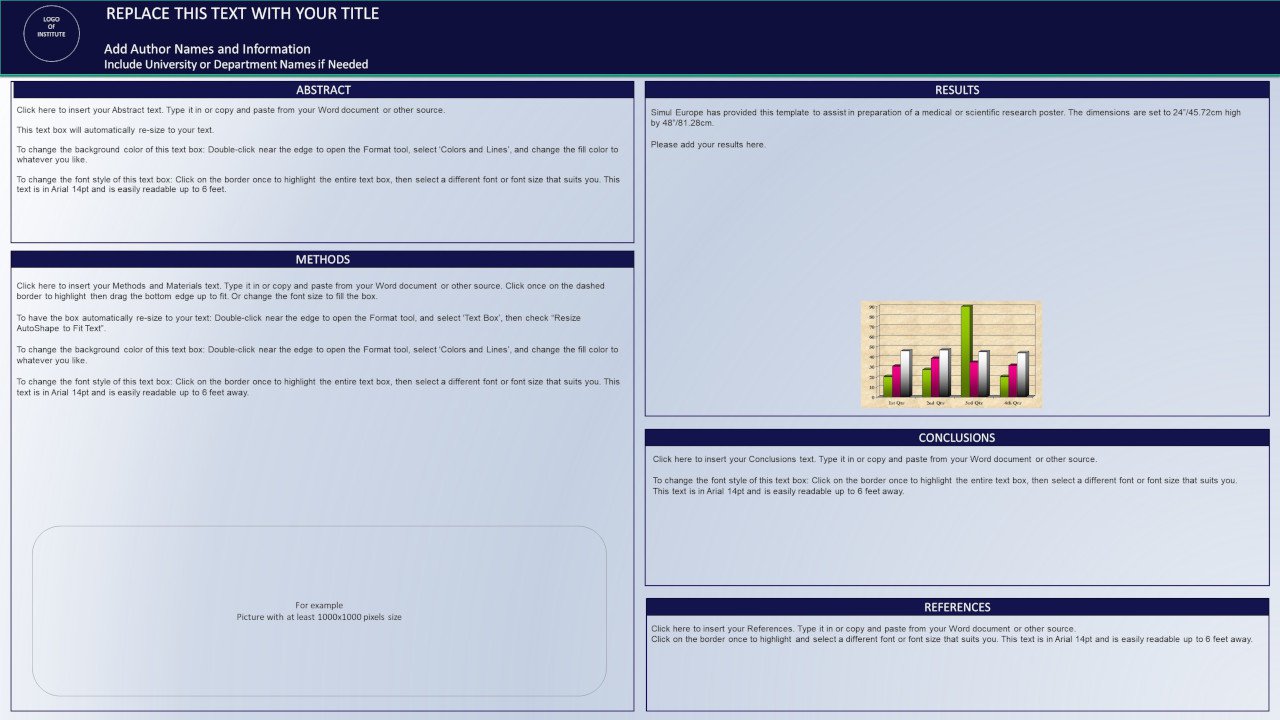
Prepare a one page poster document in power point or word document. You may download a template to prepare an e-poster.
Step 2:
Turn your document into PDF format.
- All e-posters should be prepared in English
- All e-posters should only be one
- Layout: Landscape (horizontal orientation)
- Poster Size:
- Pixels: Minimum recommended size (format W x H) is 2000 x 1125px.
- In inches/cm: 18”/45.72cm height and 32”/81.28cm width
- Format: 16:9
- DPI 300 pixels/inch
- File Size: Maximum file size without the video is 5MB, including the video is 40MB.
- File Format: PDF (.pdf)
- Media: Images/photos, graphs and tables can be included in the e-poster.
- Hospital or institution logos are permitted
- Pharmaceutical or corporate commercial logos are not permitted
- Multimedia: 5-minute e-poster presentation videos can be included with the e0-poster. (In order to embed movies inside PDF please use Adobe Acrobat Pro and only mp4 files are accepted encoded with h264 codec)
- Maximum 1 video per e-poster, 5 minutes long
HOW DO I UPLOAD MY E-POSTER
Step 1:
Open your internet browser (preferable Chrome, Firefox or Safari) and go to the e-poster submission WEBSITE.
Step 2:
Enter your personal access information (username and password). The credentials has been provided to you through email. Click on “Login”.
Step 3:
Once you log in the system, you will be able to see the poster(s) you have to upload. To do this, please click the “Edit” button that will allow you to upload the file(s) and make any other changes.
Step 4:
Check all details of your e-poster and click “Next”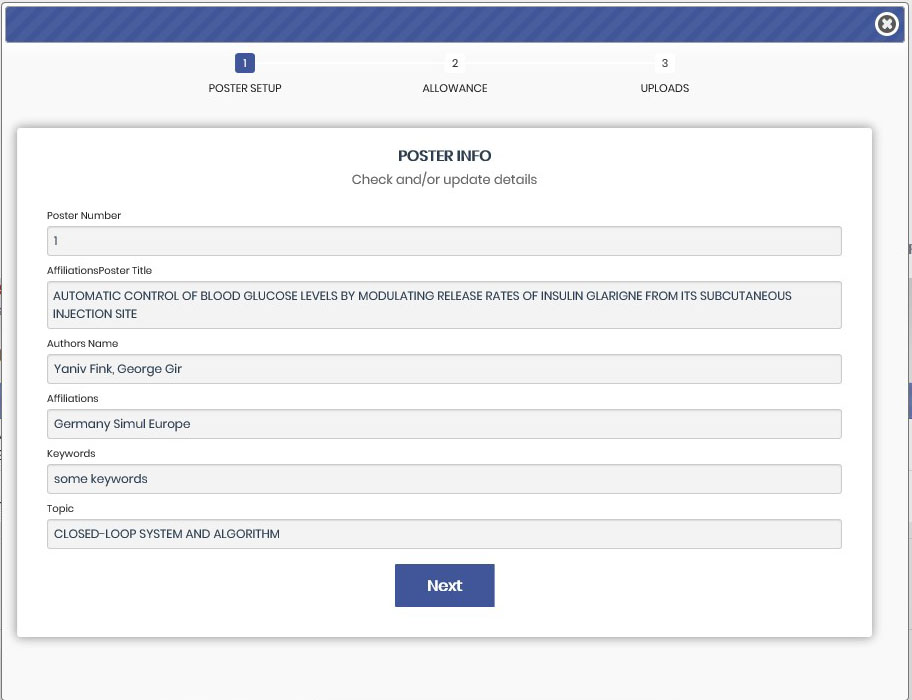
Step 5:
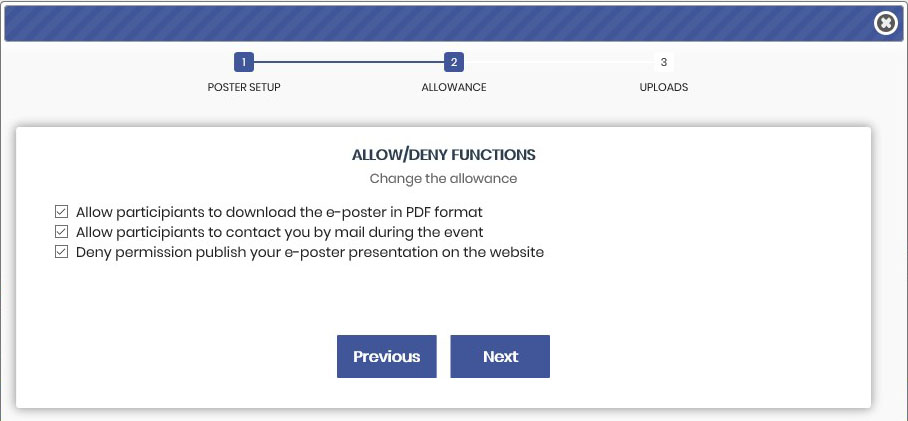
If you would like to give permission for other participants to download a copy of your e-poster (in PDF format), please make sure there is a check mark next to “Allow participants to download the e-poster in PDF format”.
If you would like to give permission for other participants to contact you during the conference, please make sure there is a check mark next to “Allow participants to contact you by email during the event”.
If you would like to deny posting your e-poster online, please make sure there is a check mark next to “Deny permission to publish your e-poster presentation on the website”.
Step 6: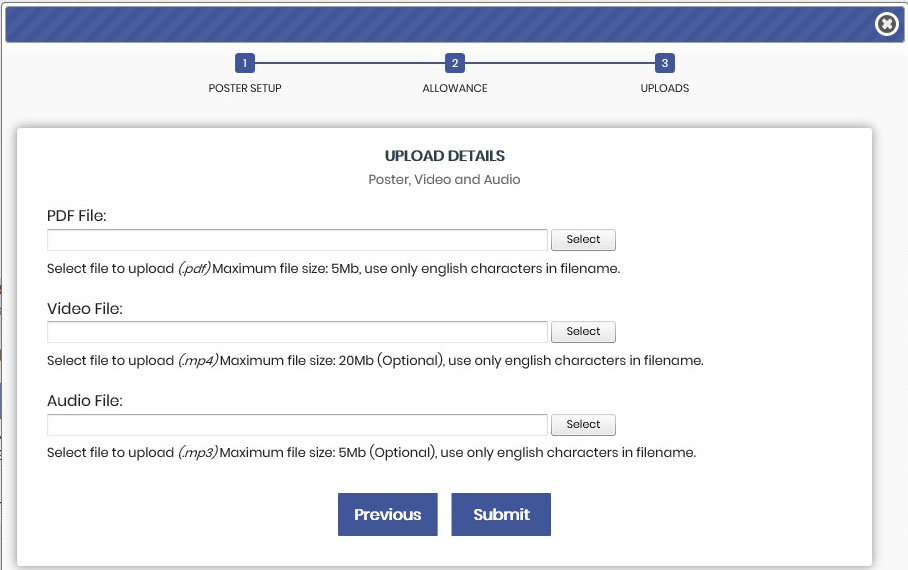
Upload your e-poster by clicking select under PDF File
After successful upload you will green icon indicating the upload, if something will go wrong the red icon will appear with relevant text info.
(Optional) In additional you can upload one video and one audio files to present aside the e-poster.
The upload progress is the same as for e-poster upload.
Click on “Submit” and wait till everything is updated.
Step 7:
After successful submission, you will see red buttons indicating which files are uploaded.
Please make sure the file you are uploading is correct. If you upload the wrong file, please click “Edit” and return to step 3.

